
Making Valentine’s Day Cards with Scratch-Off Sticker Paper
Some of my favorite childhood memories took place around Valentine’s Day. I loved sitting at the kitchen table with Mom, a freshly-opened box of valentines, and a copy of the class roster. (It was important to Mom that we didn’t accidentally leave someone out.) While she checked off each person’s name, I shuffled through the cards and stuffed them in their tiny envelopes, triple-checking to make sure I didn’t give a mushy sounding one to a boy by mistake. I don’t know if the other kids spent as much time studying the wording on the cards as I did, but what can I say? I was studious even then.
While I don’t have kids, I can’t tell you how many times I’ve been tempted to buy a box of valentines—just for old times’ sake. This year, I decided to indulge myself by making cards for my nieces and nephews.
The kids in my life range from toddler to teen, so I tried to come up with an idea that would appeal to a wide range of ages. I decided on scratchers so they’d be more interactive. I’m not going to pretend that these valentines are going to impress the teens and tweens. However, they’ve been putting up with my oddball sense of humor for a long time, and this is pretty much what they’d expect from Aunt Kelly.
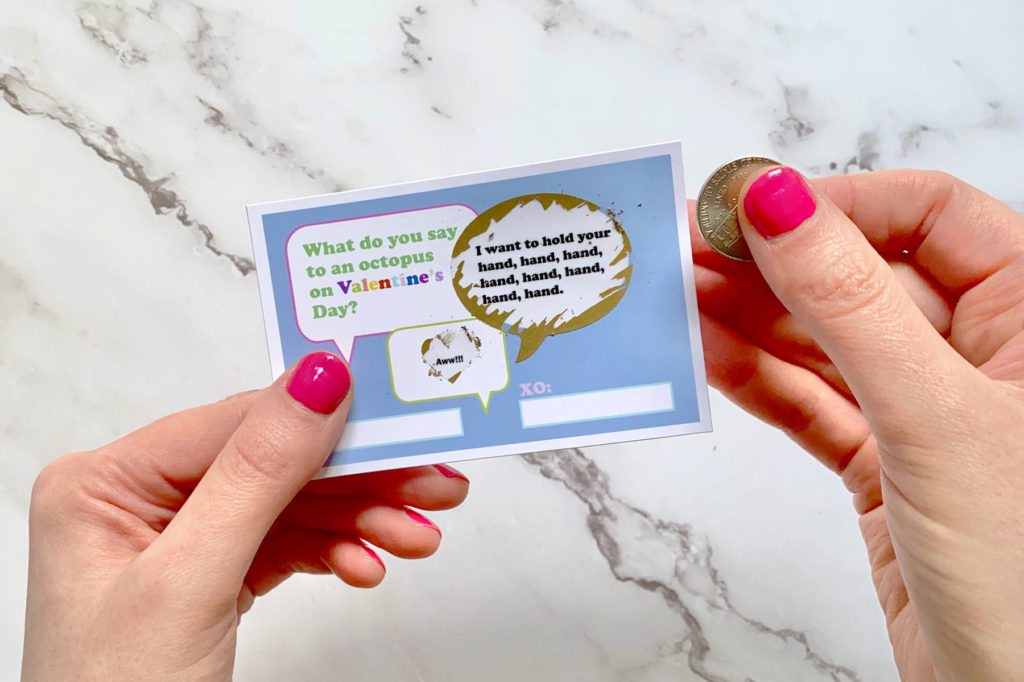
If you want to try making your own, I’ve included some details below. You can also see a video I made of the scratch-off stickers in action right here.
P.S. – I know some of my mom friends might read this. Let me tell you—if I had kids, I would 100% head to the grocery store and buy a pack of ready-made cards for $3.99 and feel GREAT about myself. However, sometimes it’s fun to embrace my role as Aunt Kelly. The kids will be the first to tell you that I’m known more for my crazy ideas than for being practical.
Project Instructions:
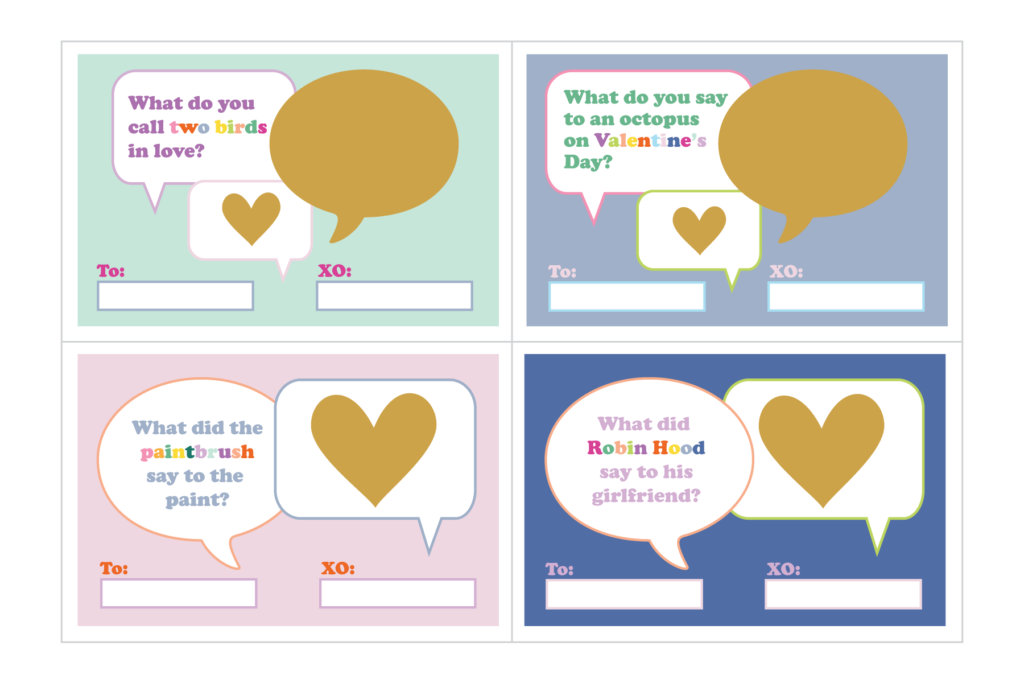
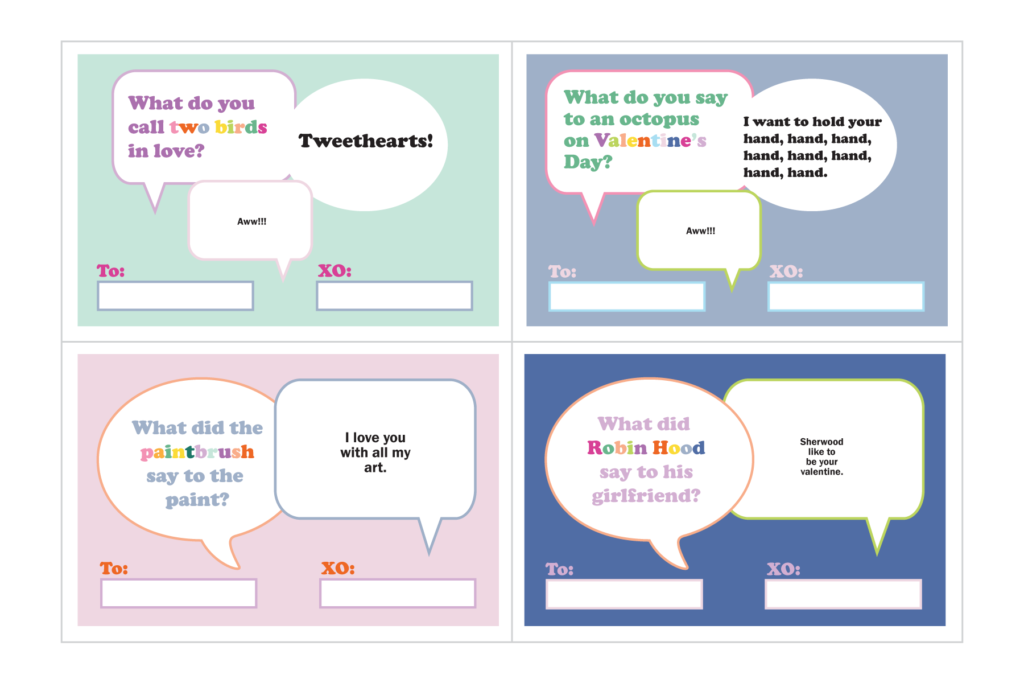
- I designed the cards in Adobe Illustrator using jokes I found on the internet. If you google “kids Valentine’s Day jokes,” you’ll find the same dozen or so puns over and over again. I tested them out on my husband and then chose my top 4. When I printed the cards, they looked like this and included the answers:
The scratch-off part of the card (in gold) is made from Silhouette Scratch-Off Sticker paper. You peel the scratcher off the backing and apply it just like you would a regular sticker. If you don’t have an electronic cutting machine like a Silhouette or Cricut, you can buy scratch-off stickers on Etsy in simple shapes like hearts, circles, squares, etc. For me, the fun part about using the Silhouette Cameo for the project was being able to do special sizes and shapes.
- Silhouette Cameo Settings for Scratch-Off Sticker Sheets: These are the default settings for Scratch-Off stickers recommended in the Silhouette Studio software. If you need more help, there are lots of similar projects and tutorials on Pinterest.
- Blade: 2
- Speed: 7
- Depth: 14
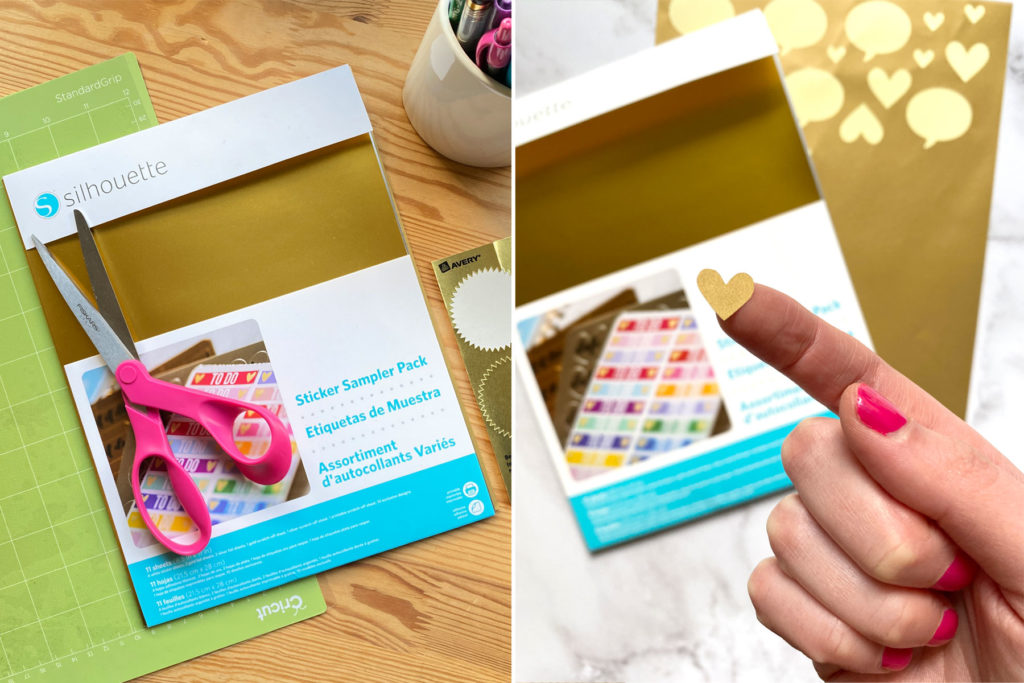
- I was pretty excited when I found this Silhouette Sticker Sampler Pack, since I only needed to make 10 scratchers total. The sampler pack came with a variety of other sticker papers that I plan to experiment with for future projects. Please note: There is a pretty strong chemical odor when you first open the package, so I let mine air out for a while.
If you decide to make your own scratch-off cards, I’d love to see them!