DIY Projects

Making Valentine’s Day Cards with Scratch-Off Sticker Paper

Some of my favorite childhood memories took place around Valentine’s Day. I loved sitting at the kitchen table with Mom, a freshly-opened box of valentines, and a copy of the class roster. (It was important to Mom that we didn’t accidentally leave someone out.) While she checked off each person’s name, I shuffled through the cards and stuffed them in their tiny envelopes, triple-checking to make sure I didn’t give a mushy sounding one to a boy by mistake. I don’t know if the other kids spent as much time studying the wording on the cards as I did, but what can I say? I was studious even then.

While I don’t have kids, I can’t tell you how many times I’ve been tempted to buy a box of valentines—just for old times’ sake. This year, I decided to indulge myself by making cards for my nieces and nephews.

The kids in my life range from toddler to teen, so I tried to come up with an idea that would appeal to a wide range of ages. I decided on scratchers so they’d be more interactive. I’m not going to pretend that these valentines are going to impress the teens and tweens. However, they’ve been putting up with my oddball sense of humor for a long time, and this is pretty much what they’d expect from Aunt Kelly. 
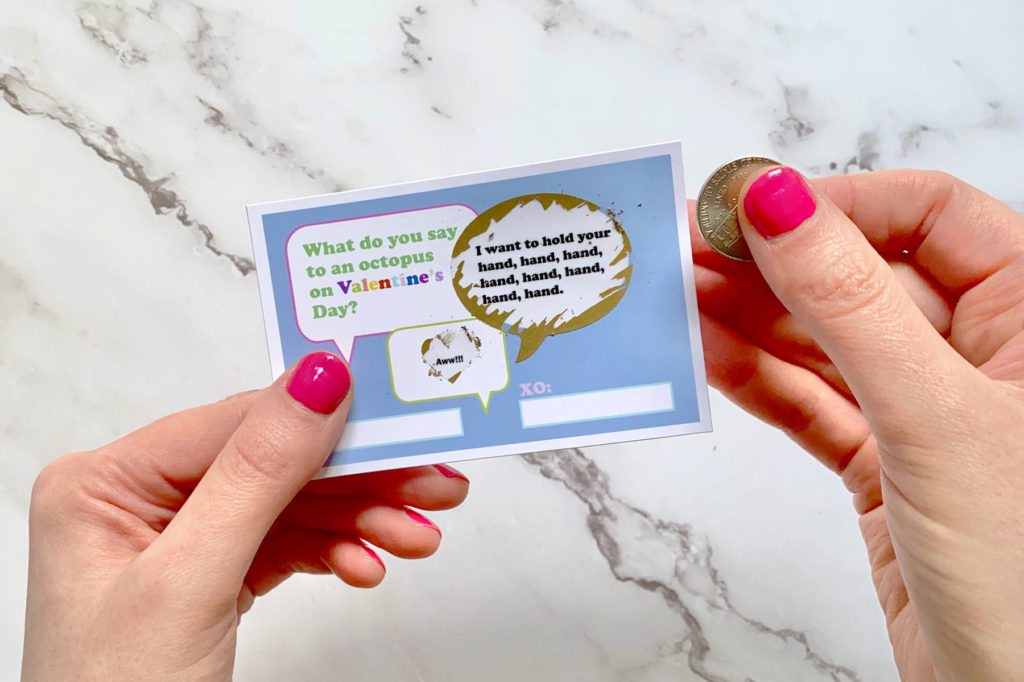
If you want to try making your own, I’ve included some details below. You can also see a video I made of the scratch-off stickers in action right here.

P.S. – I know some of my mom friends might read this. Let me tell you—if I had kids, I would 100% head to the grocery store and buy a pack of ready-made cards for $3.99 and feel GREAT about myself. However, sometimes it’s fun to embrace my role as Aunt Kelly. The kids will be the first to tell you that I’m known more for my crazy ideas than for being practical.

Project Instructions:

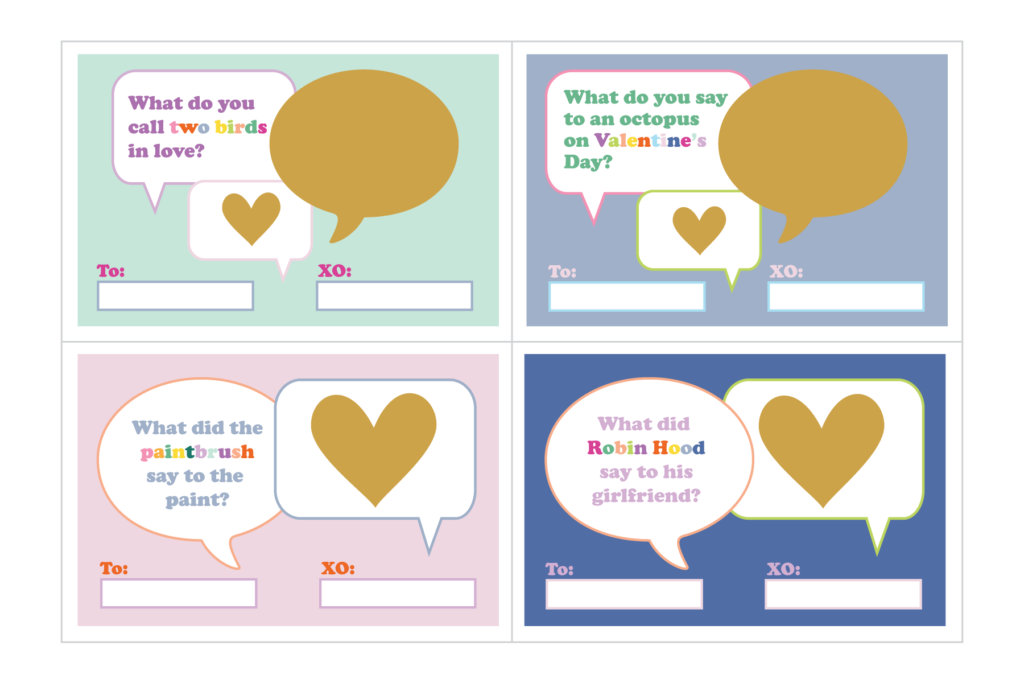
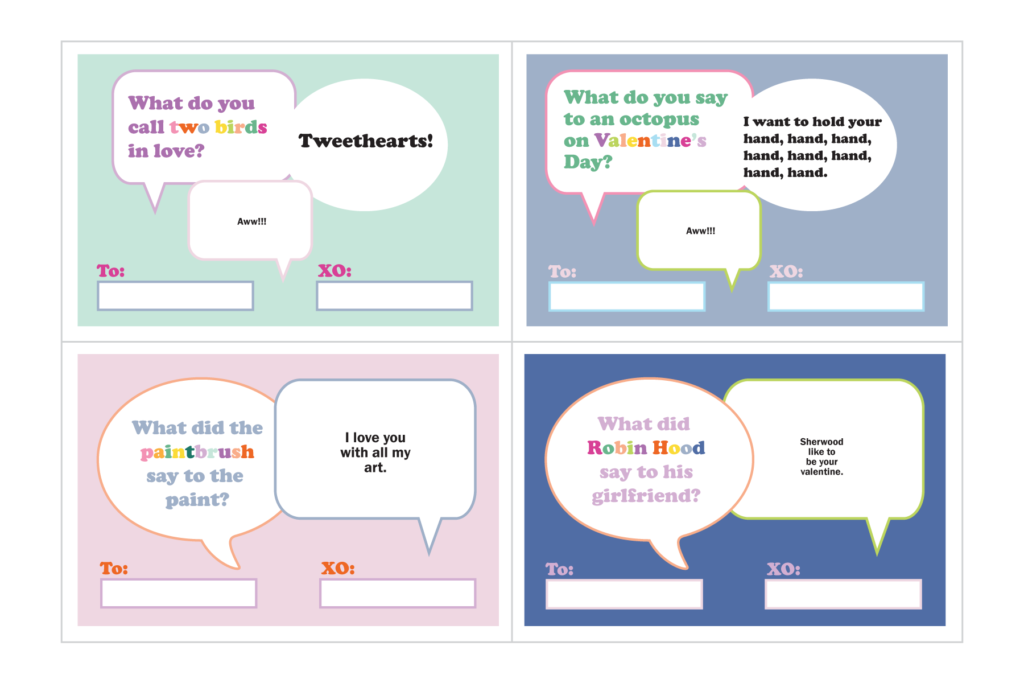
  • I designed the cards in Adobe Illustrator using jokes I found on the internet. If you google “kids Valentine’s Day jokes,” you’ll find the same dozen or so puns over and over again. I tested them out on my husband and then chose my top 4. When I printed the cards, they looked like this and included the answers:
The scratch-off part of the card (in gold) is made from Silhouette Scratch-Off Sticker paper. You peel the scratcher off the backing and apply it just like you would a regular sticker. If you don’t have an electronic cutting machine like a Silhouette or Cricut, you can buy scratch-off stickers on Etsy in simple shapes like hearts, circles, squares, etc. For me, the fun part about using the Silhouette Cameo for the project was being able to do special sizes and shapes.
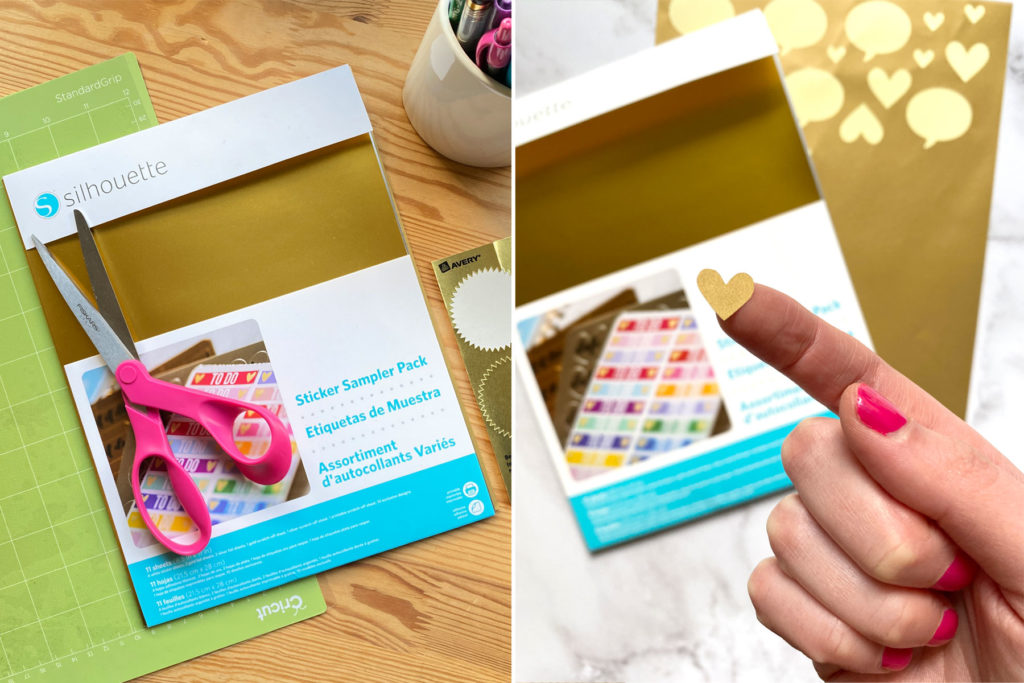
  • Silhouette Cameo Settings for Scratch-Off Sticker Sheets: These are the default settings for Scratch-Off stickers recommended in the Silhouette Studio software. If you need more help, there are lots of similar projects and tutorials on Pinterest.
    • Blade: 2
    • Speed: 7
    • Depth: 14
  • I was pretty excited when I found this Silhouette Sticker Sampler Pack, since I only needed to make 10 scratchers total. The sampler pack came with a variety of other sticker papers that I plan to experiment with for future projects. Please note: There is a pretty strong chemical odor when you first open the package, so I let mine air out for a while.

If you decide to make your own scratch-off cards, I’d love to see them!

Putting Love in the Mail (Plus a FREE Printable Card)

A few years ago, while lost in Wonderland (also known as the Bullseye’s Playground / Dollar Spot section at Target), I found a set of note cards that said Hello Beautiful on them. I immediately snatched them up. I think they were supposed to be for Valentine’s Day, but I loved using them for all sorts of occasions (birthdays, encouragement, thank you notes, etc.).

Well, the day has finally come. After years of carefully rationing them, I used up my last one.

The good news is that I decided to make my own and share them with you! I used the same wording, but a different color scheme and design. If you’d like to send someone a note, you can download a FREE copy to print at home. (Click on the link below to download a PDF.)

I’ve learned a lot about writing meaningful notes from some of my friends. Sending a note can be an opportunity to reaffirm someone’s identity and point out their best qualities. This is how I see you: as beautiful, lovely, full of possibility.

I think most of us could use more reminders like that.

Free Download:

Click here to download the Hello Beautiful Card.

Printing Tips:

  • I printed the cards at home on plain white card stock (8.5″ x 11″). The folded card measures 3.5″ x 5″.
  • If you don’t have a color printer at home, I’ve had good experiences sending things to Staples to be printed.
  • Feel free to print as many as you’d like. These are for personal use only. Thank you!

Making a Wreath: Following a Floret Flower’s Tutorial

One of the silver linings this year has been learning to use and appreciate what I have. 

When I thought about my Christmas decorations, I started craving something fresh. I remembered this tutorial for an evergreen wreath in Erin Benzakein’s book, A Year in Flowers. I’d always wanted to make a fresh wreath, but growing up in Southern California, it wasn’t something I’d ever tried.

Every now and then, there are benefits to hoarding craft supplies. I found a 12″ wire wreath form and some floral wire tucked in the back of the closet just waiting for this moment.

At first, I was intimidated by the list of ingredients. Could I really find that many different types of branches? However, it turned out that the hardest part of foraging for supplies was changing out of my pajamas and putting on my gardening boots. Once outside, I found more than enough variety.

In the book, Erin talks about selecting unusual ingredients like ivy berries and seedpods. She has an eye for using unexpected, textural elements, so her wreath is a mini work of art. Since this was my first attempt, I kept things simpler, replying on battery-operated lights for some extra sparkle.

When I look back on this season which has felt bittersweet, I hope I always remember making this wreath.

Here, at the end of the year, I’m tired. I’ve been trying to be intentional about only choosing activities that speak to me. This one hit the mark. I loved being outside in the crisp air and slowing down long enough to notice the difference between a spruce tree and a cedar.

And the smell! You probably don’t need me to tell you that, but all those pine-scented candles have it wrong. My laundry room is now filled with a sweet citrus scent that smells like Heaven.

If you want to try making your own wreath, I added a few notes below. I also made a very short video that shows the process start to finish. (Confession: I’ve watched the clip 83 times now, because I love pretending that it only took me 30 seconds to make it. HA! You and I both know that it took slightly longer than that.)

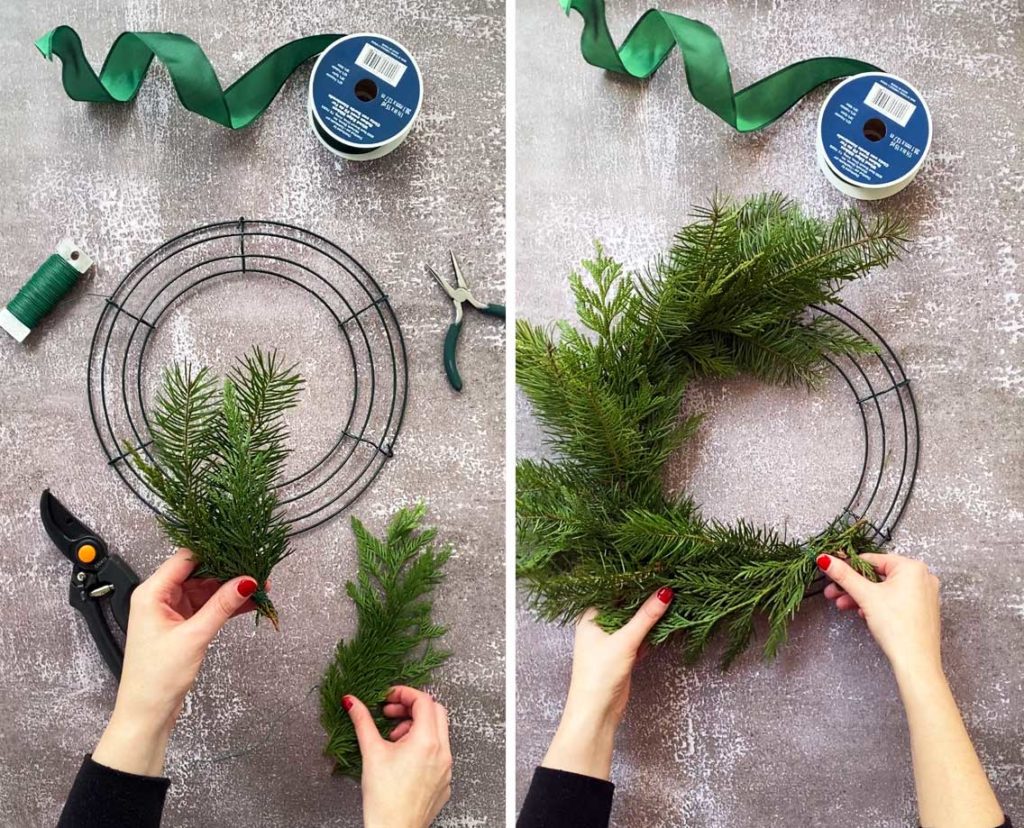
Supplies I had on hand:

  • Wreath form (12”)
  • Floral wire
  • Wire cutters
  • Something to cut branches with (not pictured): I used various tools I found in the garage plus some hand-held pruners for cutting the branches into smaller pieces.

Practical matters:

I won’t repeat all of Erin’s instructions here, but I did learn a couple of things:

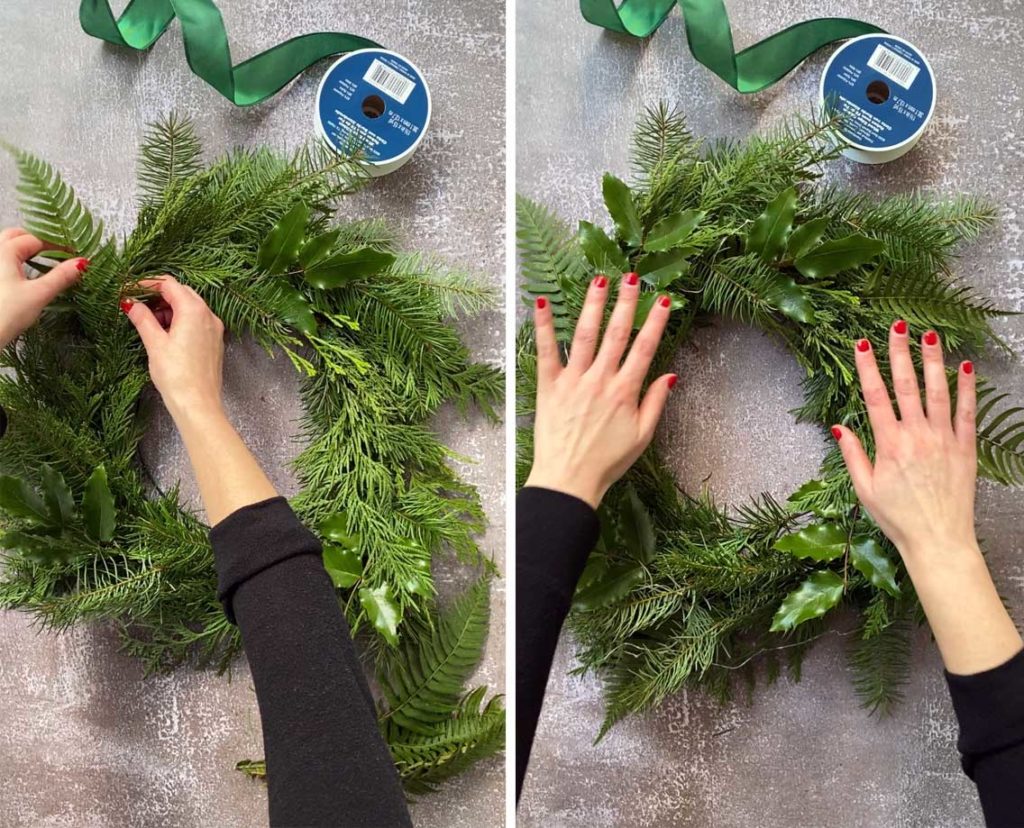
  • The secret to the wreath is to cut your branches into pieces 8″ long and create miniature bundles wrapped with wire.
  • I used 4 types of evergreens I found in my yard plus some fern leaves and holly.
  • Full disclosure: The fern leaves didn’t last very long without water, but while they were fresh, they were showstoppers. It’s possible that there’s some special trick I missed. However, if you want something extra special and lush for a day or two, they might be worth the trouble. You’d probably want to swap them out later for something else.